|
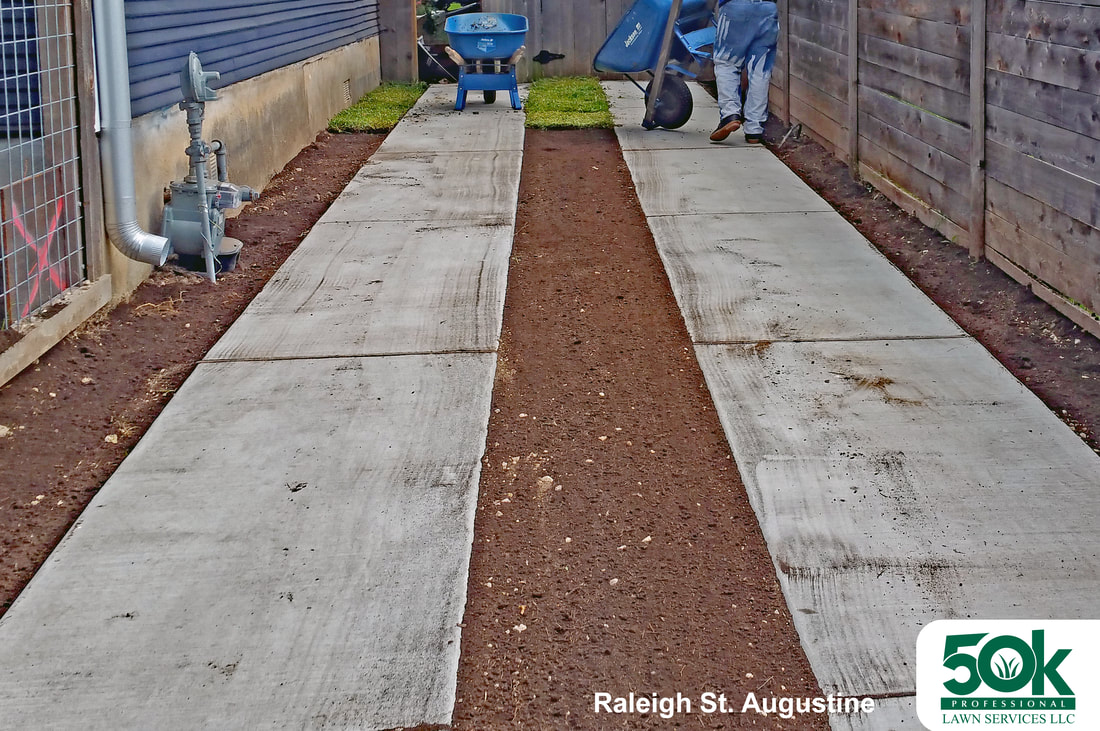
Updated on 08/27/2026. Before installing sod over existing dead grass, it's important to first remove the dead grass and prepare the soil. Here are the steps you can follow:
Updated Sod Preparation from our 2022 Procedure: Why We No Longer Till the Soil Preparing the soil correctly is one of the most important parts of a successful sod installation. When we originally published this article in 2022, our preparation process included the option of using a tiller to loosen the soil before installing fresh sod. As we have continued to learn, improve our methods, and focus more on long -term soil health, our approach has changed. We no longer routinely till the soil before installing sod. While tilling can make the surface appear loose, it does not necessarily correct underlying soil structure and may contribute to compaction below the depth of the equipment while disrupting fungal networks and other beneficial components of the soil food web. Instead, we use methods designed to create the conditions new sod needs while disturbing the existing soil as little as necessary. Why We Changed Our Sod Preparation Method Our philosophy is influenced by the work of soil microbiologist Dr. Elaine Ingham and the Soil Food Web approach, which views healthy soil as a living ecosystem. Beneficial bacteria, fungi, and other microorganisms play important roles in nutrient cycling and soil structure. Bacteria help bind soil particles into small aggregates, while fungal networks help connect those aggregates into larger structures. This creates pore spaces that allow air and water to move through the soil and roots to penetrate deeper. Following these soil-health principles, we focus on minimum necessary soil disturbance. Instead of pulverizing or completely turning over the soil, we use methods such as a garden fork or appropriate cutter when needed to loose and prepare the area while preserving as much of the existing soil structure and biology as practical. Our goal is not simply to make the surface look loose before laying sod. We want to create good soil-to-root contact while supporting an environment where water, air, microorganisms, and roots can function together. The new sod needs to develop roots that move beyond the original sod layer and establish into the soil below. A well structured, biologically active soil provides better pathway for those roots to penetrate deeper and supports healthier long-term establishment. Our Updated Standard Sod Removal and Installation Process Before installing fresh sod, we remove the existing vegetation and prepare the area for proper installation. 1. Remove existing vegetation using a loader/Dingo, which also helps prepare the area for releveling and grading. 2. Apply a topsoil blend of loam and organic matter. 3. Level and grade the area based on existing site conditions, helping direct water toward plant beds, tree beds, or drainage areas when possible. 4. Install and cut the sod for a tight, proper fit throughout the lawn. 5. Apply starter fertilizer and compost tea to support establishment. 6. Water thoroughly immediately after installation. 7. Clean up the site and remove installation debris. Note: Final grading and drainage results depend on existing elevations, drainage conditions, property limitations, and overall site conditions. 50K Professional Lawn Services LLC. 844-505-5296. Austin, Texas.
2 Comments
5/13/2024 10:19:41 am
I wanted to express my gratitude for your insightful and engaging article. Your writing is clear and easy to follow, and I appreciated the way you presented your ideas in a thoughtful and organized manner. Your analysis was both thought-provoking and well-researched, and I enjoyed the real-life examples you used to illustrate your points. Your article has provided me with a fresh perspective on the subject matter and has inspired me to think more deeply about this topic.
Reply
Leave a Reply. |
Call or Text |